Are you tired of serving overcooked or undercooked chicken?
Achieving the perfect temperature for cooking chicken can be a daunting task, but fear not! In this guide, we will show you how to ensure your chicken is cooked to perfection every time.
Whether you’re grilling, baking, or frying, getting the temperature just right is crucial for both flavor and food safety.
We’ll delve into the ideal internal temperatures for different cuts of chicken, as well as provide you with handy tips and tricks to help you achieve the juiciest and most flavorful results. From using a meat thermometer to understanding the importance of resting your chicken, we’ve got you covered.
Say goodbye to dry and flavorless chicken, and say hello to tender, succulent, and perfectly cooked poultry.
Get ready to elevate your chicken game and impress your family and friends with your culinary skills. Let’s dive in and discover the secrets to cooking chicken to perfection!
Why is cooking chicken to the right temperature important?
Cooking chicken to the right temperature is essential for two main reasons:
Flavor And Food Safety
When chicken is cooked to the correct internal temperature, it ensures that it is both safe to eat and deliciously juicy.
- Firstly, cooking chicken to the right temperature helps to eliminate any harmful bacteria that may be present, such as salmonella or campylobacter. These bacteria can cause foodborne illnesses and can make you very sick. By cooking chicken to the appropriate temperature, you can kill these bacteria and reduce the risk of foodborne illnesses.
- Secondly, cooking chicken to the right temperature ensures that it is tender and juicy. Overcooked chicken can become dry and tough, while undercooked chicken can be unsafe to eat. By cooking chicken to the right temperature, you can achieve the perfect balance of tenderness and juiciness.
To ensure your chicken is cooked to perfection, it is important to understand the recommended cooking temperatures for different cuts of chicken.
Understanding the recommended cooking temperature for chicken
Different cuts of chicken require different internal temperatures to ensure they are cooked thoroughly. Here are the recommended internal temperatures for various cuts of chicken:
1. Whole chicken: The internal temperature of a whole chicken should reach 165°F (74°C) to ensure that it is fully cooked and safe to eat. Insert the meat thermometer into the thickest part of the chicken, avoiding any bones, to get an accurate reading.
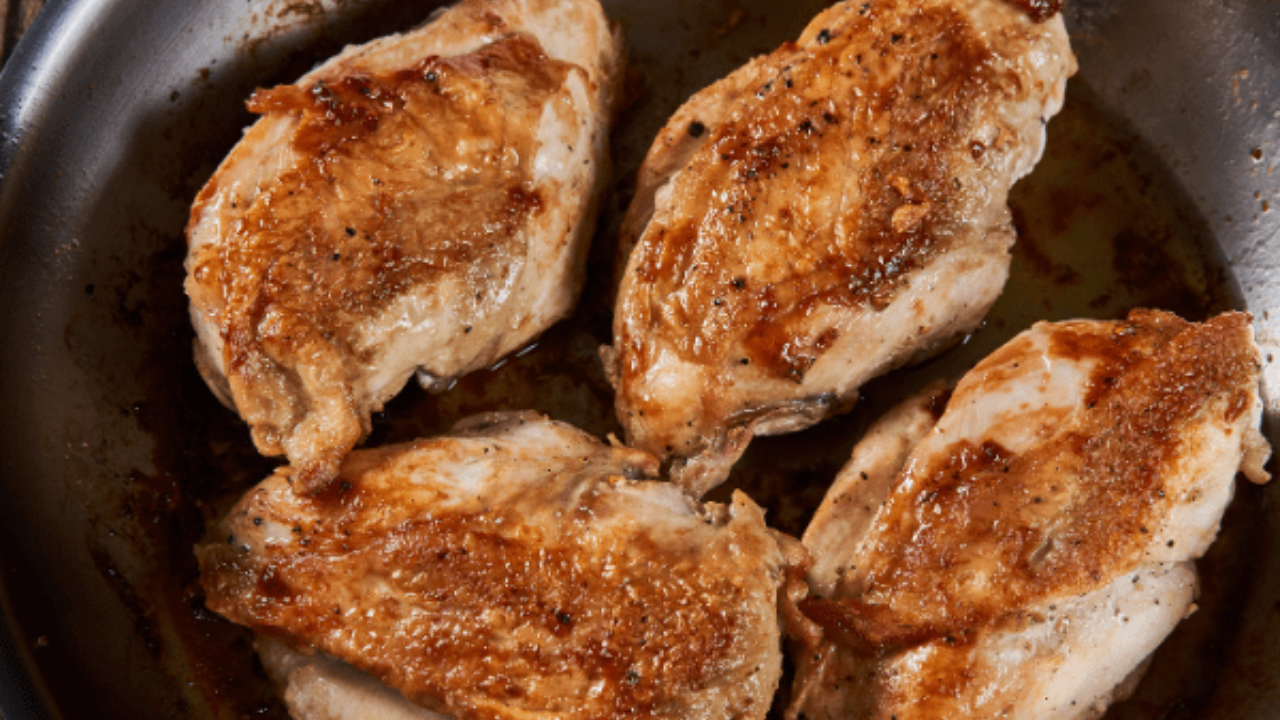
2. Chicken breasts: Chicken breasts should also be cooked to an internal temperature of 165°F (74°C). This ensures that they are fully cooked while remaining tender and juicy. When cooking boneless, skinless chicken breasts, it’s important to monitor the temperature closely to avoid overcooking.
3. Chicken thighs and drumsticks: Dark meat cuts like thighs and drumsticks have a bit more fat and connective tissue, which means they can be cooked to a slightly higher internal temperature without drying out. The recommended internal temperature for chicken thighs and drumsticks is 175°F (79°C). This ensures that they are fully cooked and tender.
It’s important to note that these recommended temperatures are guidelines, and it’s always a good idea to use a meat thermometer to ensure accuracy. Now that you know the ideal temperatures, let’s explore different methods for checking the internal temperature of chicken.
Methods for checking the internal temperature of chicken.
When it comes to cooking chicken to perfection, using a meat thermometer is your best friend. Here are a few methods for checking the internal temperature of chicken:
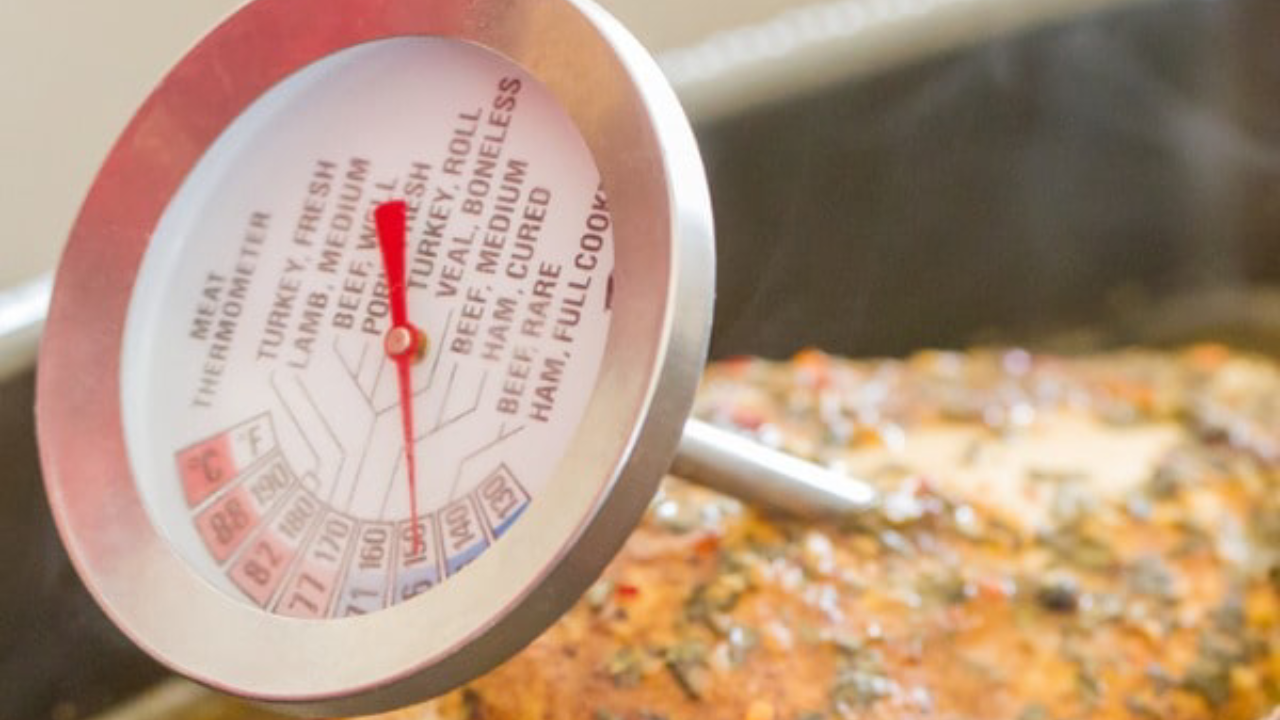
1. Instant-read meat thermometer: This is the most accurate and reliable way to determine the internal temperature of chicken. Simply insert the thermometer probe into the thickest part of the chicken, avoiding any bones. Wait for a few seconds until the reading stabilizes, and you’ll have an accurate temperature reading.
2. Oven-safe meat thermometer: If you’re cooking chicken in the oven, an oven-safe meat thermometer is a great tool to use. Insert the thermometer probe into the chicken before placing it in the oven. Make sure the probe is not touching any bones or the pan. The thermometer will remain in the chicken throughout the cooking process, allowing you to monitor the temperature without opening the oven door.
3. Thermocouple thermometer: A thermocouple thermometer is another option for checking the internal temperature of chicken. It provides a quick and accurate reading and is especially useful for checking the temperature of thin cuts, such as chicken breasts.
Regardless of the method you choose, always aim to insert the thermometer into the thickest part of the chicken, away from bones, to get an accurate reading. Remember to clean your thermometer after each use to prevent cross-contamination. Now that you know how to check the temperature, let’s explore the factors that can affect cooking time and temperature.
Factors that can affect cooking time and temperature.
Cooking chicken to perfection involves considering various factors that can affect the cooking time and temperature. These factors include:
1. Chicken thickness: The thickness of the chicken will affect the cooking time and temperature. Thicker cuts will take longer to cook, while thinner cuts will cook more quickly. Adjust the cooking time accordingly to ensure the chicken reaches the recommended internal temperature.
2. Starting temperature: The starting temperature of the chicken can influence the cooking time. If the chicken is straight out of the refrigerator, it will take longer to cook compared to chicken that has been brought to room temperature. Allow the chicken to sit at room temperature for about 20-30 minutes before cooking to ensure more even cooking.
3. Cooking method: The cooking method you choose will also impact the cooking time and temperature. Grilling, baking, and frying all have different heat sources and cooking times. Adjust the cooking time and temperature based on the method you’re using.
4. Oven accuracy: Oven temperature accuracy can vary, so it’s a good idea to use an oven thermometer to ensure that the temperature is accurate. This will help you achieve more consistent cooking results.
By considering these factors, you can adjust the cooking time and temperature accordingly, ensuring that your chicken is cooked to perfection.
Now let’s explore some tips and tricks for achieving juicy and flavorful chicken.
Tips for achieving juicy and flavorful chicken.
Cooking chicken to the right temperature is just one part of achieving juicy and flavorful results. Here are some additional tips and tricks to take your chicken to the next level:
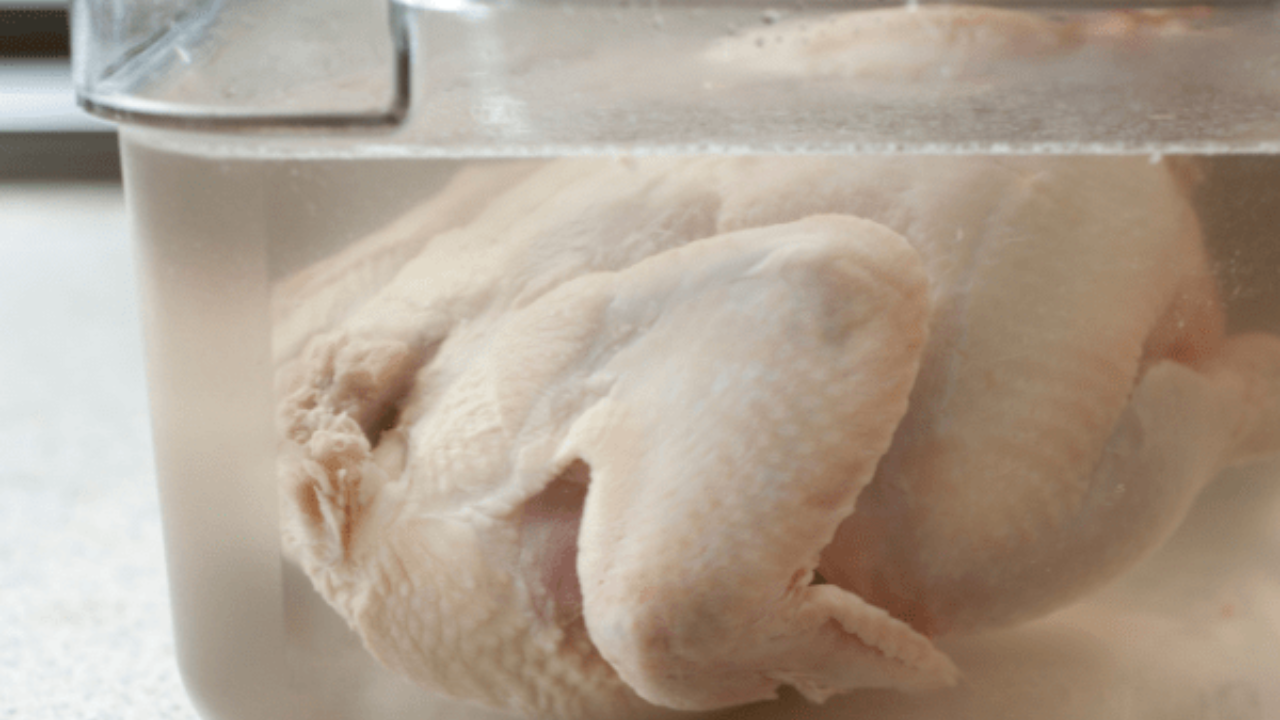
1. Brine the chicken: Brining involves soaking the chicken in a saltwater solution before cooking. This helps to enhance the flavor and moisture content of the chicken, resulting in juicier and more flavorful meat. Brining is particularly beneficial for lean cuts like chicken breasts.
2. Marinate the chicken: Marinating chicken in a flavorful mixture can add depth and complexity to the taste. The acidity in the marinade helps to tenderize the meat while infusing it with delicious flavors. Allow the chicken to marinate for at least 30 minutes, or overnight for even more flavor.
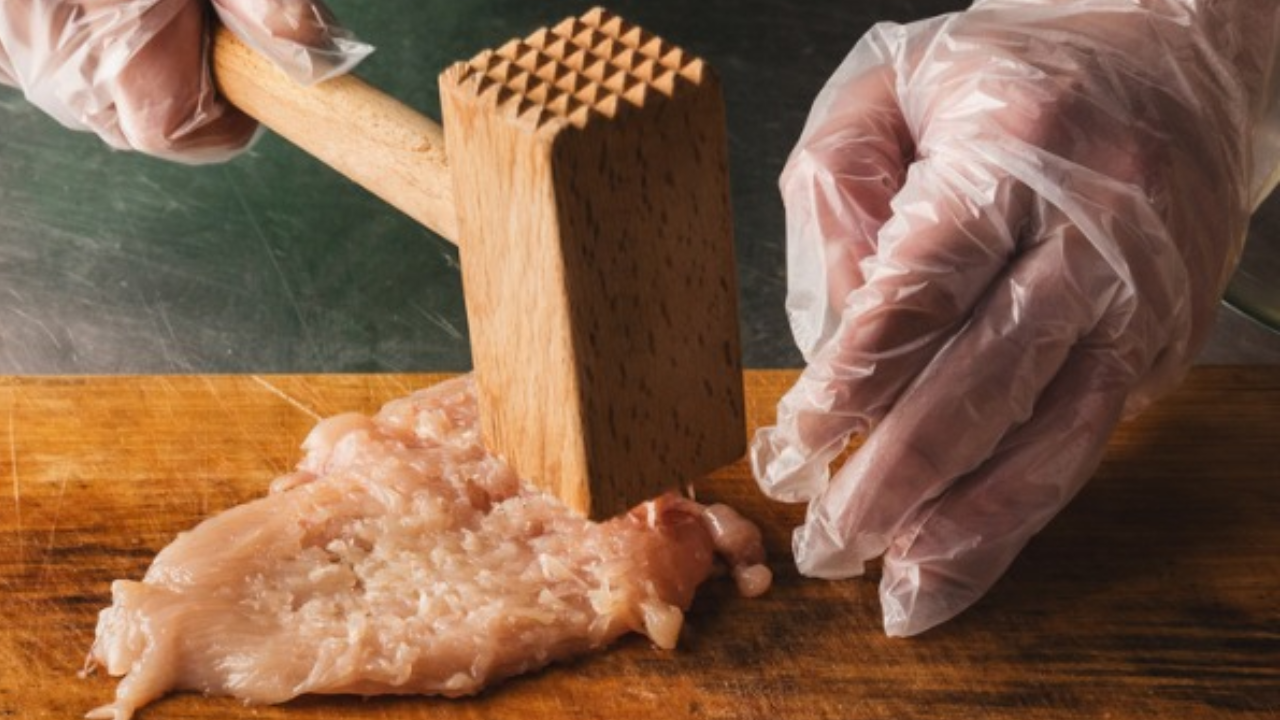
3. Use a meat tenderizer: If you want to further enhance the tenderness of your chicken, consider using a meat tenderizer. This tool helps break down the muscle fibers, resulting in a more tender and juicy texture. Tenderizing is especially useful for tougher cuts of chicken.
4. Rest the chicken: After cooking, it’s important to let the chicken rest for a few minutes before serving. This allows the juices to redistribute throughout the meat, resulting in a more succulent and flavorful chicken. Tent the chicken with foil to keep it warm while it rests.
By incorporating these tips and tricks into your cooking routine, you can elevate the flavor and texture of your chicken. However, there are also some common mistakes that you should avoid when cooking chicken.
Common mistakes to avoid when cooking chicken.
To ensure that your chicken turns out perfectly cooked every time, it’s important to avoid these common mistakes:
1. Overcooking: Overcooking chicken is one of the most common mistakes. It can result in dry and tough meat. Always use a thermometer to check the internal temperature and remove the chicken from the heat when it reaches the recommended temperature.
2. Undercooking: On the other hand, undercooking chicken can be unsafe to eat. Make sure to check the internal temperature to ensure it reaches the appropriate level for food safety.
3. Not letting it rest: Skipping the resting step can result in dry and less flavorful chicken. Allow the chicken to rest for a few minutes before serving to ensure juiciness and maximum flavor.
4. Cutting into the chicken too soon: Cutting into the chicken immediately after cooking can cause the juices to run out, resulting in dry meat. Let the chicken rest before slicing to retain its juiciness.
By avoiding these common mistakes, you can ensure that your chicken is cooked to perfection every time.
Now let’s explore how to achieve the ideal cooking temperature for chicken on different cooking appliances.
Cooking chicken to perfection on different cooking appliances – oven, stovetop, or grill.
Cooking chicken to perfection requires different techniques depending on the cooking appliance you’re using. Here’s how to achieve the ideal cooking temperature for chicken on different appliances:
1. Oven: Preheat the oven to the desired temperature based on the recipe or the recommended cooking temperature for the cut of chicken you’re using. Use an oven-safe meat thermometer to monitor the internal temperature. Place the chicken on a baking sheet or in a roasting pan and cook until it reaches the recommended internal temperature.
2. Stovetop: When cooking chicken on the stovetop, use a skillet or pan with a lid. Start by searing the chicken on both sides over medium-high heat to develop a crispy exterior. Then reduce the heat to medium-low, cover the pan, and continue cooking until the chicken reaches the recommended internal temperature.
3. Grill: Grilling chicken adds a smoky flavor and creates beautiful grill marks. Preheat the grill to medium-high heat. Oil the grates to prevent sticking. Place the chicken on the grill and cook until it reaches the recommended internal temperature, flipping once halfway through the cooking process.
By following these guidelines, you can achieve perfectly cooked chicken on different cooking appliances.
Now let’s explore some delicious chicken recipes that require precise cooking temperatures.
Delicious chicken recipes that require precise cooking temperatures
Cooking chicken to perfection opens up a world of delicious recipes.
Here are a few recipes that require precise cooking temperatures:
1. Oven-roasted whole chicken: Preheat the oven to 425°F (220°C). Season the chicken with salt, pepper, and any desired herbs or spices. Place the chicken in a roasting pan and cook until the internal temperature reaches 165°F (74°C). Let it rest before carving.
2. Grilled chicken skewers: Preheat the grill to medium-high heat. Cut boneless, skinless chicken breasts into bite-sized pieces. Thread onto skewers, alternating with vegetables if desired. Grill until the chicken reaches an internal temperature of 165°F (74°C), turning occasionally.
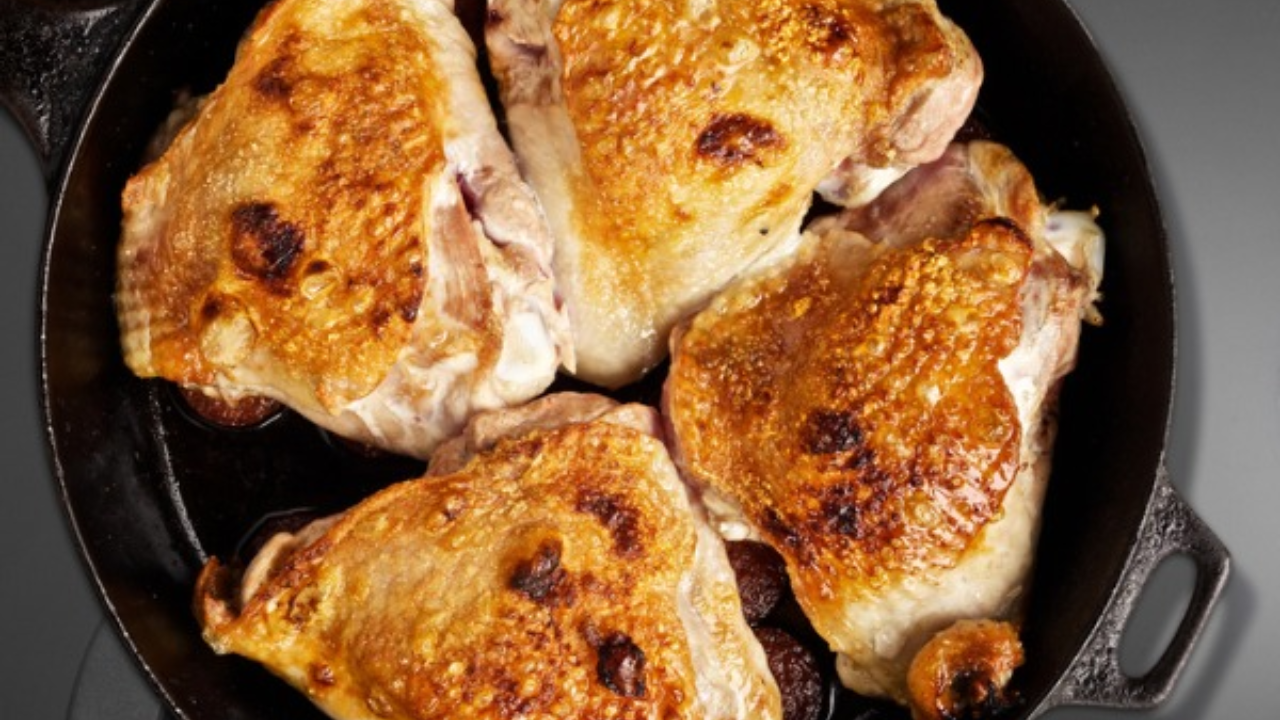
3. Pan-seared chicken thighs: Heat a skillet over medium-high heat. Season chicken thighs with salt, pepper, and any desired spices. Place the chicken skin-side down in the skillet and cook until the skin is crispy. Flip the chicken and continue cooking until it reaches an internal temperature of 175°F (79°C).
These are just a few examples of the many delicious chicken recipes that can be cooked to perfection by following the recommended internal temperatures.
Now, let’s discuss food safety guidelines for handling and storing cooked chicken.
Food safety guidelines for handling and storing cooked chicken
Proper handling and storage of cooked chicken are essential to prevent foodborne illnesses.
Here are some food safety guidelines to follow:
1. Use separate utensils and cutting boards: To avoid cross-contamination, use separate utensils and cutting boards for raw and cooked chicken. Wash your hands and any surfaces that come into contact with raw chicken thoroughly with soap and hot water.
2. Refrigerate promptly: After cooking, refrigerate any leftover chicken within two hours. Place it in an airtight container and store it in the coldest part of the refrigerator. Cooked chicken can be stored in the refrigerator for up to four days.
3. Reheat thoroughly: When reheating cooked chicken, make sure it reaches an internal temperature of 165°F (74°C) to kill any potential bacteria. Use a meat thermometer to check the temperature before serving.
By following these food safety guidelines, you can ensure that your cooked chicken remains safe and delicious. Now, let’s wrap up everything we’ve learned.
Conclusion.
Achieving the perfect temperature for your chicken is the key to cooking it to perfection, both in terms of flavor and food safety.
By understanding the recommended cooking temperatures, using a meat thermometer, and considering various factors that can affect cooking time and temperature, you can ensure juicy and flavorful results every time.
Avoiding common mistakes, incorporating tips and tricks, and using the right cooking techniques for different appliances will further enhance the quality of your chicken dishes.
Remember to follow food safety guidelines for handling and storing cooked chicken to prevent any potential illnesses.
With the knowledge and techniques shared in this guide, you’re now equipped to elevate your chicken game and impress your family and friends with your culinary skills.
So go ahead, cook with confidence, and enjoy perfectly cooked chicken every time!
Frequently Asked Questions
Why is it essential to cook chicken to the right temperature?
Cooking chicken to the correct temperature ensures both flavor and food safety. It helps eliminate harmful bacteria and ensures that the chicken remains tender and juicy.
What are the recommended internal temperatures for various chicken cuts?
- Whole chicken: 165°F (74°C)
- Chicken breasts: 165°F (74°C)
- Chicken thighs and drumsticks: 175°F (79°C)
How can I check the internal temperature of my chicken?
Use an instant-read meat thermometer, oven-safe meat thermometer, or a thermocouple thermometer, inserting the probe into the thickest part of the chicken, avoiding bones.
What factors can affect the cooking time and temperature of chicken?
Chicken thickness, starting temperature, cooking method, and oven accuracy are some primary factors.
How can I achieve juicy and flavorful chicken?
Some methods include brining the chicken, marinating it, using a meat tenderizer, and allowing the chicken to rest after cooking.
What are the common mistakes to avoid when cooking chicken?
Overcooking, undercooking, not letting the chicken rest, and cutting into it too soon are common mistakes.
How do I achieve the perfect chicken temperature on different appliances?
Techniques differ when using an oven, stovetop, or grill. Always monitor the internal temperature, and follow appliance-specific guidelines.
Can you recommend some chicken recipes that need precise cooking temperatures?
Oven-roasted whole chicken, grilled chicken skewers, and pan-seared chicken thighs are a few recipes that require careful monitoring of internal temperatures.
How should I handle and store cooked chicken safely?
Avoid cross-contamination, refrigerate cooked chicken within two hours, and ensure it’s reheated to an internal temperature of 165°F (74°C).
Where can I find official guidelines on recommended temperatures for cooking meat?
You can check the U.S. DEPARTMENT OF AGRICULTURE’s official guidelines on their website: Check the New Recommended Temperatures. https://www.usda.gov/media/blog/2011/05/25/cooking-meat-check-new-recommended-temperatures
